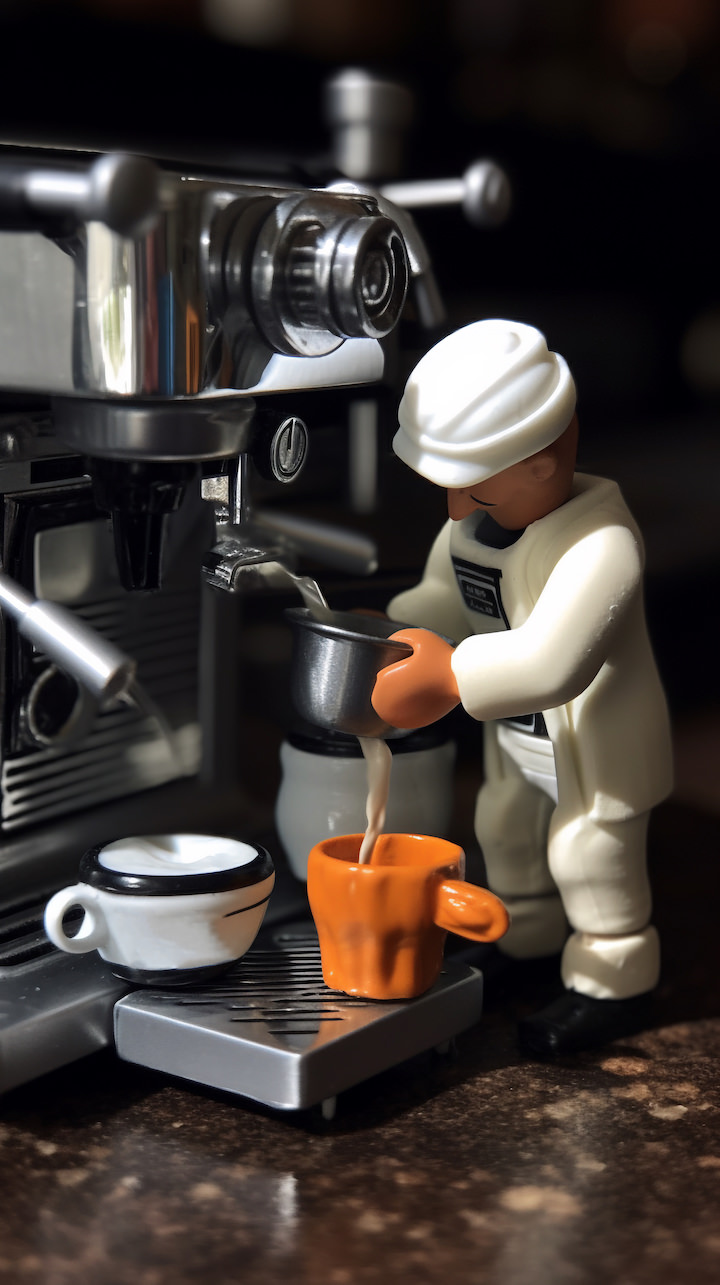
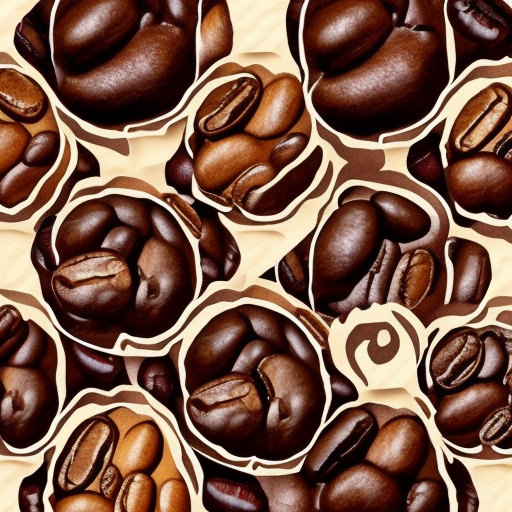
Unleash Perfect Espresso: Tips for Keeping Your Machine Clean

Are you someone who loves coffee and can’t start the day without a fresh shot of espresso? If yes, you need to take care of your espresso machine. Cleaning your espresso machine is crucial because it doesn’t just help you maintain hygiene but also improve the taste of your coffee. In this blog post, we will discuss some of the best cleaning tips for an espresso machine that will help you enjoy a quality and healthy coffee every day.

Clean the Portafilter After Every Use

The portafilter is the part of the machine that holds the coffee grounds. After each use, run some hot water over the portafilter and use a soft brush to clean the outside and inside. This will avoid the buildup of oils and grounds that can affect the taste of your coffee. For a deeper clean, soak the portafilter in a solution of hot water and coffee machine detergent.

Monthly Descaling

Over time, mineral deposits and build-up can clog your espresso machine’s pipes and affect the taste of your coffee. Descaling helps remove these deposits and keeps the machine working correctly. Simply mix a descaling solution with water, run it through the machine, and then flush with clean water. Descaling should be done at least once a month.

Dismantle it

Before you start cleaning, it’s essential to dismantle your espresso machine. This means removing all the removable parts like the group head, basket, and steam wand. You can rinse some of the parts in warm water, like the steam wand, but others need a thorough clean.

The Group Head

The group head is an essential part of an espresso machine, and it needs to be kept clean every day. You’ll need a brush and a specialized espresso cleaner to do the job. Scrub the group head with the brush, then pour some cleaner through the group head. You should rinse and repeat the process a few times.

The Steam Wand

Finally, you should clean the steam wand. The steam wand is used to froth milk, and its tip is vulnerable to clogging. You can buy a specialized cleaner to do the job. Fill a container with warm water and cleaner, dip the steam wand into it, and turn on the steam. Leftover milk particles will be cleared out of the steam wand’s tip.

Tools

Cleaning an espresso machine requires some special tools. Here are some essentials you may need; a steam wand cleaner brush, espresso machine cleaner, a screwdriver to dismantle the machine, and a soft cloth to wipe the external parts.

In conclusion, cleaning your espresso machine is crucial to maintain the quality and hygiene of your coffee. By following the tips above, you can ensure that your espresso machine stays clean and your coffee always tastes great. Remember to tidy up regularly, so it doesn’t build up, and your machine will last longer. A cleaned and well-maintained espresso machine equals to a better coffee experience.

Please note that if you purchase from clicking on the link, some will result in my getting a tiny bit of that sale to help keep this site going.

Share

Using Coffee to Develop Film: A Complete Guide for Film Photographers

As a film photographer, you may be familiar with the traditional process of developing film in a darkroom. But, I have heard of people using coffee to develop black-and-white film, did you know that coffee can be used as a developer? Coffee is an inexpensive and readily available alternative to traditional film developers. I have seen some interesting and unique results from folks using coffee, though read through to the end, I did find a couple limitations. Not enough for me not to try it.

Here is a complete guide to using coffee as a film developer:

What You’ll Need:

  • Instant coffee or ground coffee beans
  • Sodium carbonate (washing soda)
  • Vitamin C powder
  • A thermometer
  • A stirring utensil
  • A darkroom or a light-proof room
  • A film developing tank and reels

Step-by-Step Process:

  1. Brew a strong pot of coffee or mix a few tablespoons of instant coffee with hot water.
  2. Add 1 teaspoon of sodium carbonate and 1 teaspoon of vitamin C powder to the coffee solution. Stir until fully dissolved.
  3. Allow the solution to cool to room temperature. The ideal temperature for coffee development is around 20-25°C.
  4. Load your film onto the developing reel and place it inside the developing tank.
  5. Pour the coffee solution into the tank, making sure that the film is fully submerged.
  6. Agitate the tank gently for the first minute, and then for 10 seconds every minute thereafter.
  7. After 10-15 minutes of development time, pour the coffee solution out of the tank and rinse the film with water.
  8. Fix the film using traditional fixing methods and rinse again with water.
  9. Hang the film to dry in a dust-free environment.

Tips and Tricks:

  • Coffee development can produce a wide range of tones, from warm sepia to cool blue. Experiment with different strengths and development times to achieve the desired effect.
  • Using high-quality coffee beans or specialty blends can produce even more interesting and unique results.
  • Coffee development may not work well with all types of film, so it’s best to experiment with a few rolls before committing to the process.
  • Coffee is not a long-term stable developer, so it’s best to use the developed film within a few months of processing.

It looks like coffee development can be a fun and creative alternative to traditional film developing methods. With a little experimentation and practice, you can achieve some truly unique and beautiful results. So why not give it a try and see what kind of coffee-inspired images you can create?

Share

The Art of Coffee Bean Blending for Unique Flavor Profiles

If you’re a coffee lover, then you’ve probably heard of coffee bean blending. Coffee bean blending is the art of combining different types of beans to create a unique flavor profile. Coffee blenders take into account the flavor profiles, acidity levels, and roast levels of each bean to craft the perfect blend. Let’s explore what goes into creating a successful blend. 

The Basics Of Coffee Bean Blending 

Coffee bean blending requires an understanding of flavors, aromas, and origins. When selecting beans for your blend, it helps to have an idea of what kind of flavor profile you’re trying to achieve. Are you looking for something light and fruity? Or something dark and smoky? Knowing these details will help you select the right beans for your blend. 

Beans from different regions also provide unique flavors that can be combined to create interesting blends. For example, Ethiopian coffee beans are known for their bright acidity and floral notes while Indonesian beans tend to have a more earthy flavor with hints of chocolate and spice. Combining these two beans can create a unique flavor profile that appeals to people who enjoy both light and dark roasts. 

It’s also important to consider the roast level when creating your blend. Different roasts bring out different flavors in the beans so it’s important to select roasts that complement each other or that bring out certain desired flavors in your final product. Roasting too many dark roasted beans can make your blend taste burnt or bitter while too many light roasted beans can make it taste weak or watery. Experimentation is key.  

Coffee bean blending takes practice but it is an incredibly rewarding process that allows coffee lovers to craft their own signature blends with unique flavor profiles that suit their individual tastes. Through careful selection and experimentation, anyone can become a master coffee blender. Try experimenting with different combinations today and see where it takes you.

If you really getting into blending and trying your own combinations, you will need your own bean roaster. Please note that if you purchase from clicking on the link, I will get a tiny bit of that sale to help keep this site going.

Share

The Art of Pour-Over Coffee Making

Brewing the perfect cup of pour over coffee requires time, patience, and practice. But with the right tools and some helpful tips, you can make a delicious cup of coffee in no time. Let’s explore some key tips to making the perfect pour over coffee. 

Preparing Your Coffee Grounds 

The first step in preparing your pour-over coffee is to grind your beans. The coarseness of the grind should depend on your preference; if you want a stronger cup of coffee, opt for a finer grind. If you want something lighter and less intense, go for a more coarse grind. Be sure to measure out the appropriate amount of grounds before grinding them up—typically two tablespoons per 6 ounces (or 180 mL) of hot water. 

Pouring Process 

Once your grounds are ready, it’s time to start pouring. Start by adding just enough water to wet all of the grounds evenly before letting it sit for 30 seconds; this allows them to “bloom” or release any trapped gases that will give your final product greater flavor and aroma. After blooming, begin slowly pouring in circles over the grounds until you reach 6 ounces (or 180 mL). Make sure not to pour too quickly or too hard; this could cause overflow and create an uneven extraction process. Letting the mixture steep for 4 minutes should be enough time to extract all the desired flavors from your grounds.  

Adding Finishing Touches 

After steeping is complete, use a spoon or paddle to break up any clumps that may have formed while brewing. This ensures that all the flavor has been extracted from every single ground particle in your cup and that there won’t be any “overflowing” particles when you drink it. Finally, add cream and sugar (if desired) before pouring into a mug or thermos for consumption. 

Making delicious pour-over coffee doesn’t have to be complicated. With these tips—and maybe a little practice—you’ll be able to brew yourself a great cup every single time. Start by grinding your beans properly—finer for strength, coarser for lightness—and then measure out two tablespoons per 6 ounces (or 180 mL) of hot water before beginning your slow circular pouring process around the grounds until they are fully saturated with liquid. Allow it to steep for 4 minutes while breaking up any clumps with a spoon or paddle before adding cream and sugar if desired before serving. With these steps in mind, you’ll have mastered the art of making great pour-over coffee in no time.

While there are many different pour over options are available. The Chemex is of course the most recognizable… and it a bit of ‘art’ for the kitchen. Though, it can be a challenge to clean if grounds get baked in a bit with its small neck. Please note that if you purchase from clicking on the link, I will get a tiny bit of that sale to help keep this site going.

Share

Back to the grind, get it right for the coffee you like

If you’re a coffee lover, chances are you’ve heard the term “grinding” thrown around when talking about the process of making coffee. But what does grinding actually mean in the context of coffee. And why is it so important for making a great cup of coffee. Read on to find out all there is to know about how different types of grinding can affect your coffee-drinking experience. 

Grinding Basics

The definition of grinding, as it relates to coffee, is the process of breaking down coffee beans into smaller particles before they can be brewed. The size and shape of these particles affects the rate at which the water passes through them and extracts flavor compounds from the beans. It’s important to note that not all grinds are created equal; each type has its own characteristics that will affect your cup of coffee differently. 

Coarse Grind 

A coarse grind is just what it sounds like—the beans are ground into large pieces, almost like course sea salt. Coarsely-ground beans are ideal for making cold brew because they absorb water slower than more finely-ground beans. Brewing cold brew requires steeped grounds for at least 12 hours (sometimes up to 24!) in room temperature or chilled water; if the grounds were too fine, the resulting drink would be way too strong and overpowering. 

Medium Grind 

A medium grind falls somewhere between coarse and fine. It’s still fairly chunky, but not as large as a coarse grind. Medium-ground beans are best used for French press coffees because they allow more oils and aromas to pass through while still providing enough structure to keep them from ending up in the bottom of your cup! That said, medium grinds aren’t ideal for drip machines because they don’t provide enough structure for a consistent extraction process; the water will flow through too quickly and you won’t get the full flavor profile from the grounds. 

 Fine Grind

A fine grind is much smaller than either a coarse or medium grind—think powdered sugar or table salt consistency! This type of grind is great for espresso machines because it provides enough surface area for optimal extraction in such a short amount of time (espresso shots take about 30 seconds!). However, fineness also means that these grounds will extract faster than coarser ones—which can lead to over-extraction and an overly bitter drink if not done correctly.

Turkish Grind 

The Turkish grind is one of the finest available—it’s almost powdery! Turkish grinds should only be used when brewing Turkish coffee because any other method simply won’t work with such tiny particles (they would just pass right through filter paper). Brewing with Turkish-ground beans results in an incredibly strong cup with lots of body due to its high surface area and minimal contact time with water. 

No matter what type of brewing method you prefer, understanding how different types of grinding affect your coffee or espresso can help you make a better cup every single time. Different sizes produce different flavors, so experimenting with different settings may yield some interesting results—just don’t forget to filter those coarser grounds out! Knowing how to properly adjust your grinder for each brewing method is an essential skill for any coffee enthusiast, so get out there and start experimenting.

There is cheap and there are ‘better’ grinders. Here is an option on the affordable side that will let you get a grind on the beans you need for the type of coffee you’re making today. Of course, there are super precise options too. Please note that if you purchase from clicking on the link, I will get a tiny bit of that sale to help keep this site going.

Share